Guide
Make a 64×64 Minecraft skin, check the hidden faces, and save a PNG you can use in the game. This guide follows the actual Pixel Studio controls. The screenshots use the English interface; the same controls are available in all five languages.
1. Choose a starting point
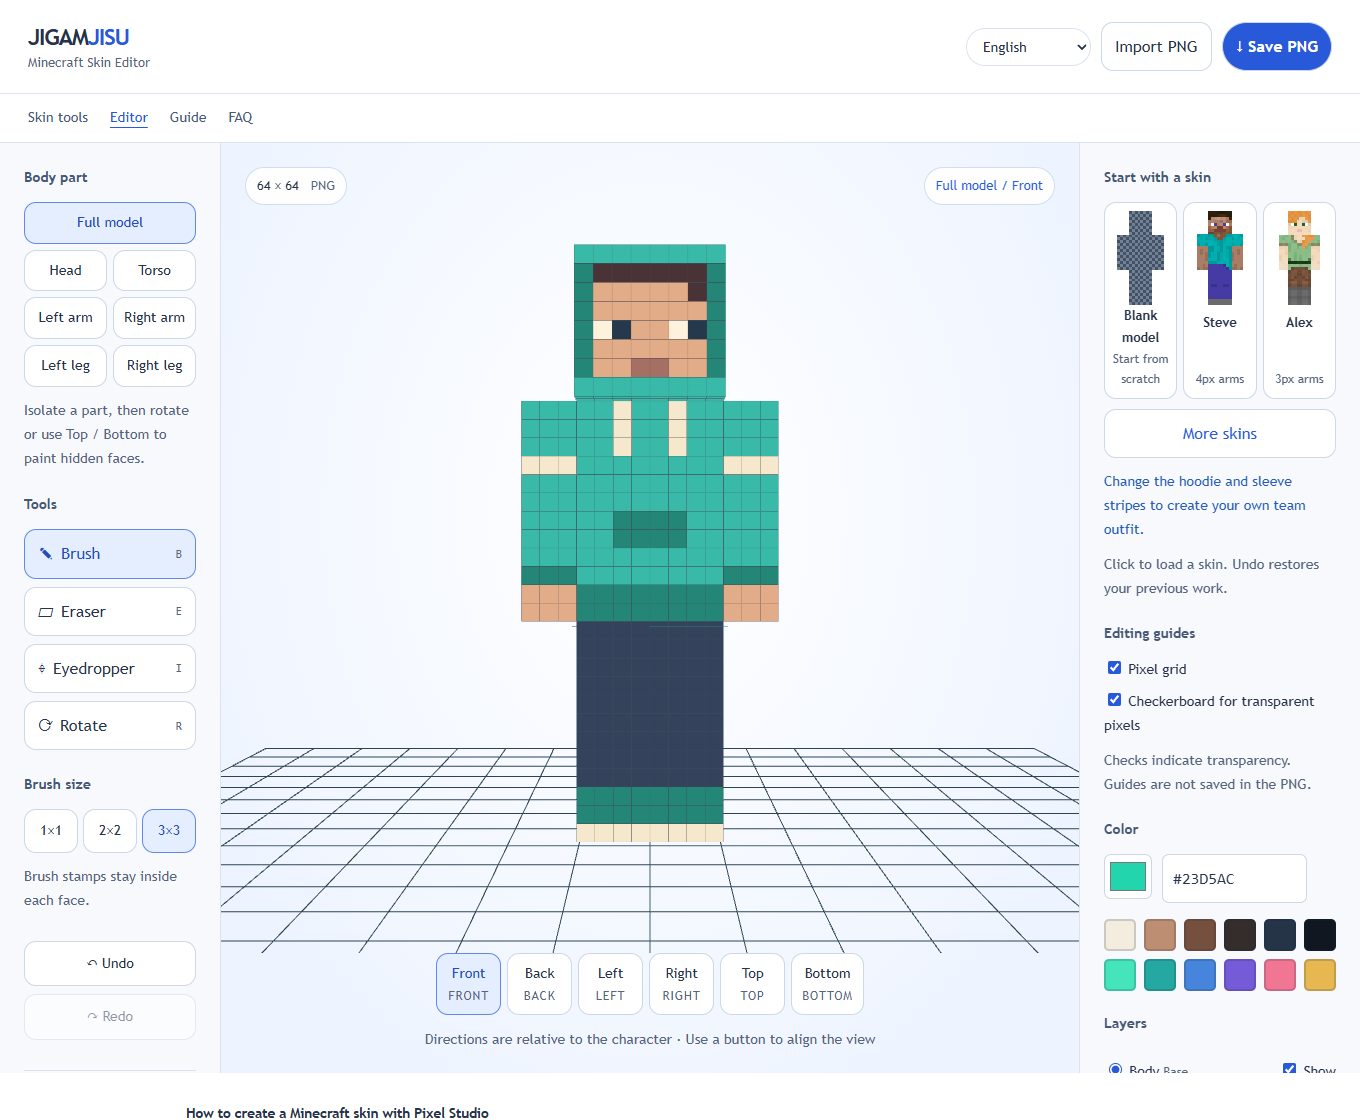
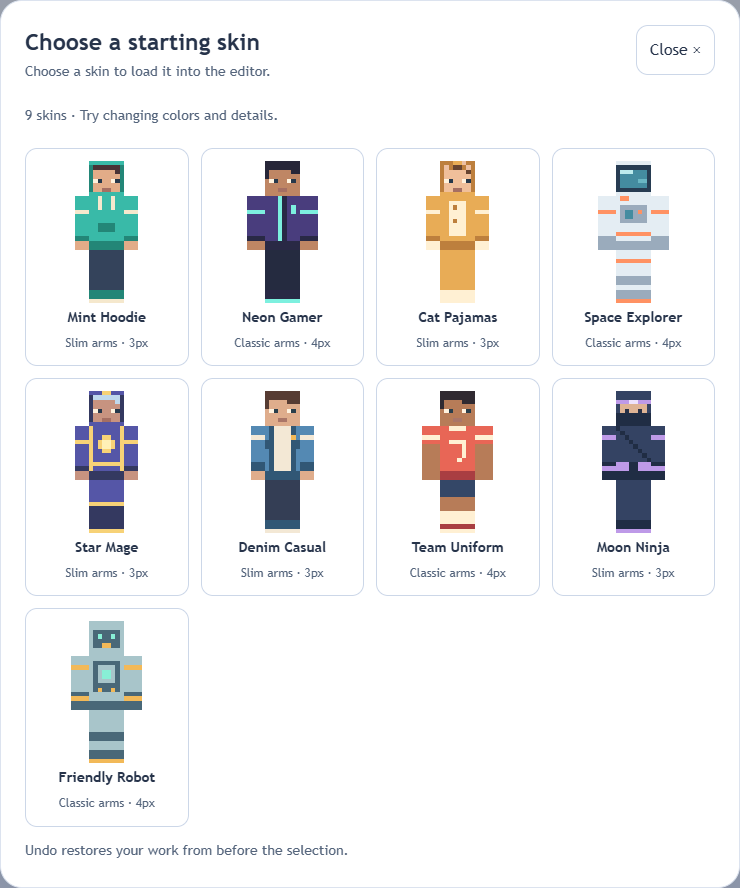
Blank model starts with transparent pixels. Steve and Alex load their templates; More skins opens nine editable designs. Click a design to load it and its matching arm width. Import PNG accepts an existing 64×64 skin. Loading a template replaces the current pixels, but Undo can restore the previous work during this session.
2. Paint accurately and keep your bearings
Choose Brush, a color, and 1×1, 2×2 or 3×3. Left-drag paints; right-drag rotates; the wheel zooms. Front, Back, Left and Right align the camera, while the direction badge reports your view. Directions are from the character’s perspective. A brush stamp is clipped at a face boundary, so a large brush may paint fewer pixels near an edge.
3. Reach the inside of arms and legs
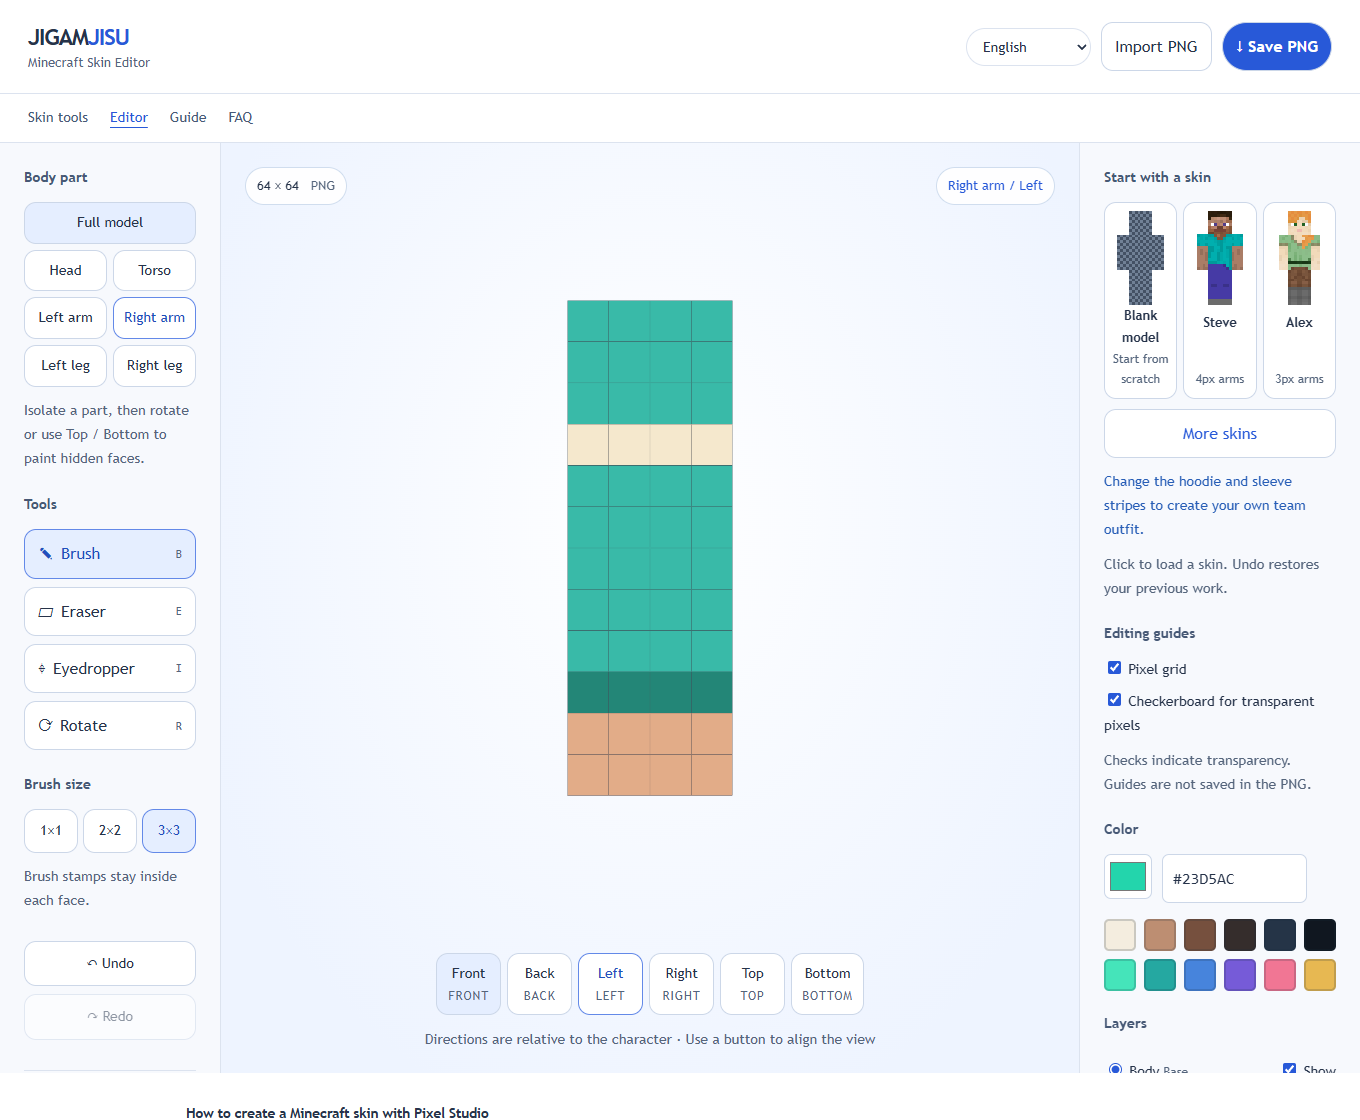
Select Head, Torso, an arm or a leg under Body part. Other parts disappear without losing their pixels, and the camera centers on your selection. Use all six direction buttons, including Top and Bottom. This exposes the head’s underside, shoulder faces and leg interiors. Return to Full model to check the assembled skin. Save PNG always exports every part, not just the visible one.
4. Understand Body, Overlay and transparency
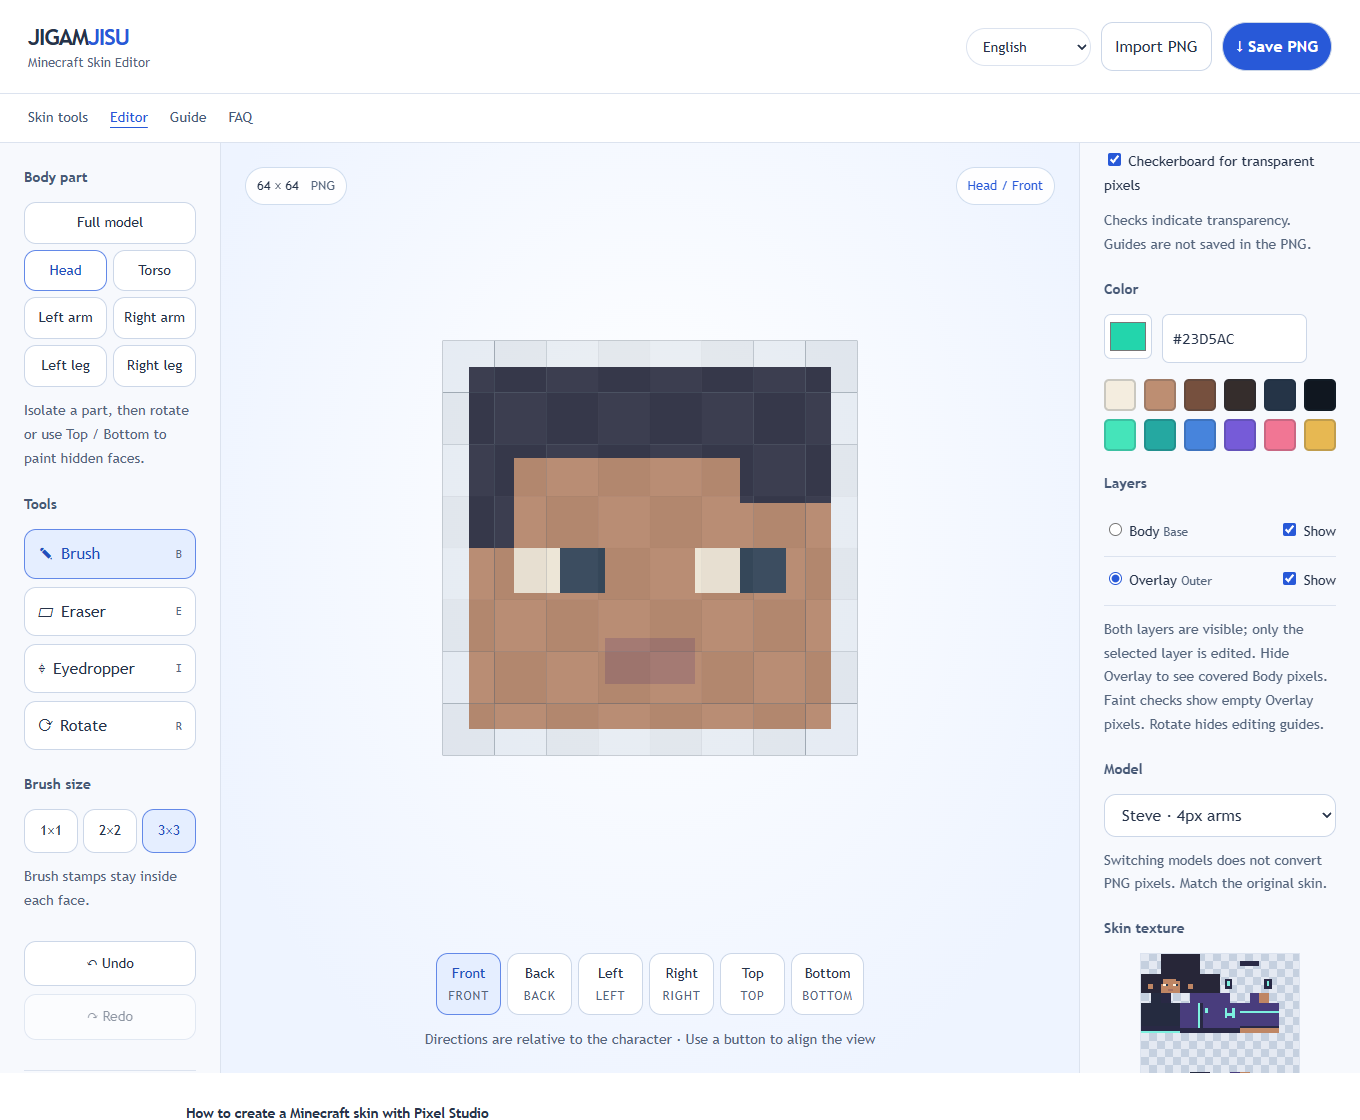
Body is the base skin. Overlay is a slightly larger shell for hair, hats, sleeves and other details. The round selector chooses where to paint; Show only controls visibility. Both layers can be displayed together. Hide Overlay when it covers the Body area you need to inspect. Eraser clears alpha: checks indicate empty pixels, not gray paint. Rotate hides the grid and checks for a clean preview.
5. Try a simple hoodie redesign
Open More skins and choose Mint Hoodie. Keep Body selected, use a 3×3 brush for the large jacket panels, then switch to 1×1 for cuffs, drawstrings and the pocket edge. Use Eyedropper to reuse a color already on the skin. Check the back and both arm interiors before saving. Undo reverses one completed stroke; Ctrl/Cmd+Z and Ctrl/Cmd+Shift+Z provide Undo and Redo.
6. Save a reusable PNG
Choose Save PNG and keep the downloaded file. It contains the entire 64×64 texture, including hidden parts and both layers. Grids and checkerboards are never exported. Do not resize the file or convert it to JPEG. Keep numbered versions before major changes: refreshing the page discards the editing session. You can later import the PNG to continue, but the old Undo history is not stored in it.
7. Use the skin in Minecraft
The exported image is a skin texture, not a screenshot. Application depends on your game edition and device. See the first three FAQ answers for Java, supported Bedrock devices and console limitations. Choose the same Classic/Steve or Slim/Alex arm shape in the game. Game menus may change, so the official Minecraft links below are included for reference.
FAQ